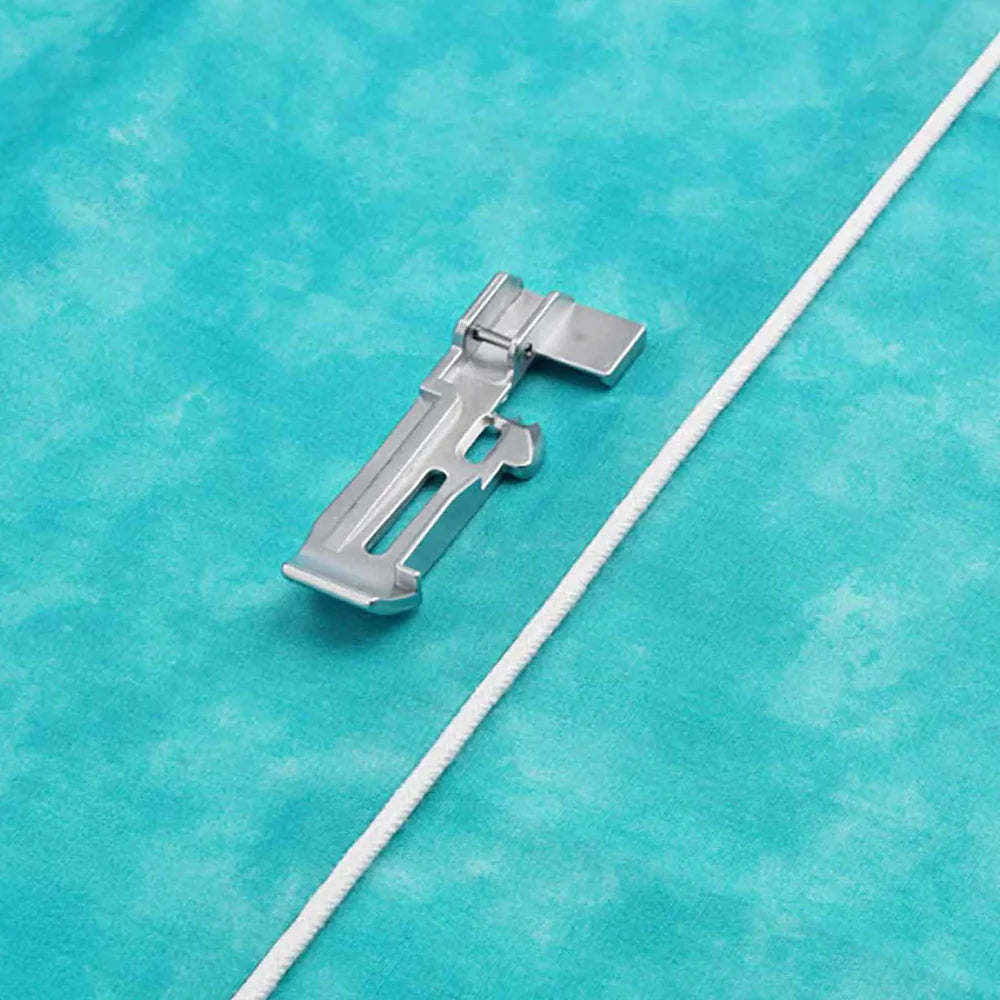
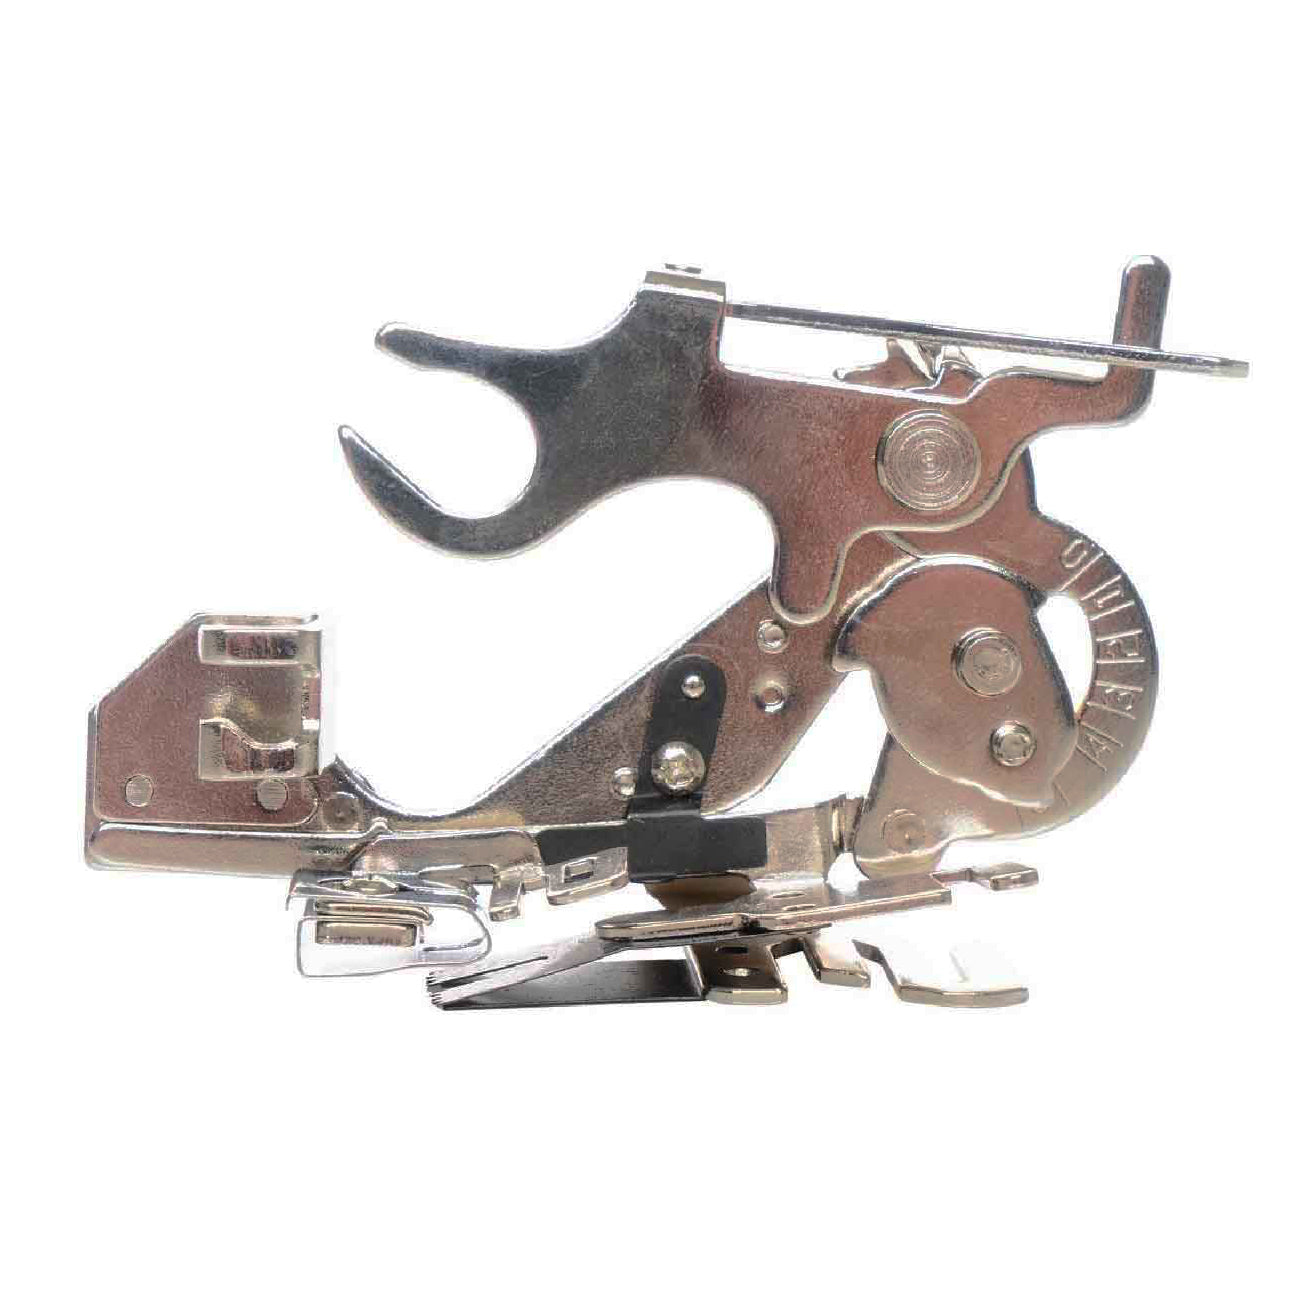
Enhance your sewing with the Viking Piping Foot, designed to give garments, home dcor, and accessories a clean, professional finish. Perfect for inserting packaged piping into seams and along edges, this foot features a built-in groove underneath to guide the piping and keep it securely in place as you stitch. In just one step, the trim is sewn neatly between fabric layers, saving time while ensuring precise results. You can also use it to create your own custom piping by covering cording with fabric, making it easy to add tailored details or coordinating accents to any project.
How to Use:
- Set Up the Machine Adjust your overlock machine to the desired stitch setting.
- Attach the Piping Foot Snap on the Piping Foot securely.
To Stitch Piping into a Seam:
- Position the Piping Place the piping along the seam line on the right side of the fabric.
- Layer the Fabric Lay the second piece of fabric on top, with right sides together, sandwiching the piping between the fabric layers.
- Align the Piping Position the fabric and piping layers under the Piping Foot, ensuring the piping fits into the groove on the underside of the foot.
- Sew the Seam Begin sewing, allowing the groove on the underside of the foot to guide the piping for perfectly aligned seams.
To Make Custom Piping:
- Cut Fabric Strips Cut bias or crosswise grain strips wide enough to cover the cord, including seam allowances.
- Wrap the Cord Place the cord on the wrong side of the fabric strip and fold the fabric over the cord.
- Position Under the Foot Align the fabric and cord under the Piping Foot, with the cord fitting into the groove on the underside of the foot.
- Sew the Piping Sew along the cord, letting the groove guide the cord for smooth, even piping.
Guaranteed to fit Husqvarna Viking sewing machine models:
Amber Air S600, Huskylock S25, S21 Huskylock